Struggling with Back Pain? You May Benefit from 1 of These 6 Psoas Muscle Exercises
 By: by Amino Science

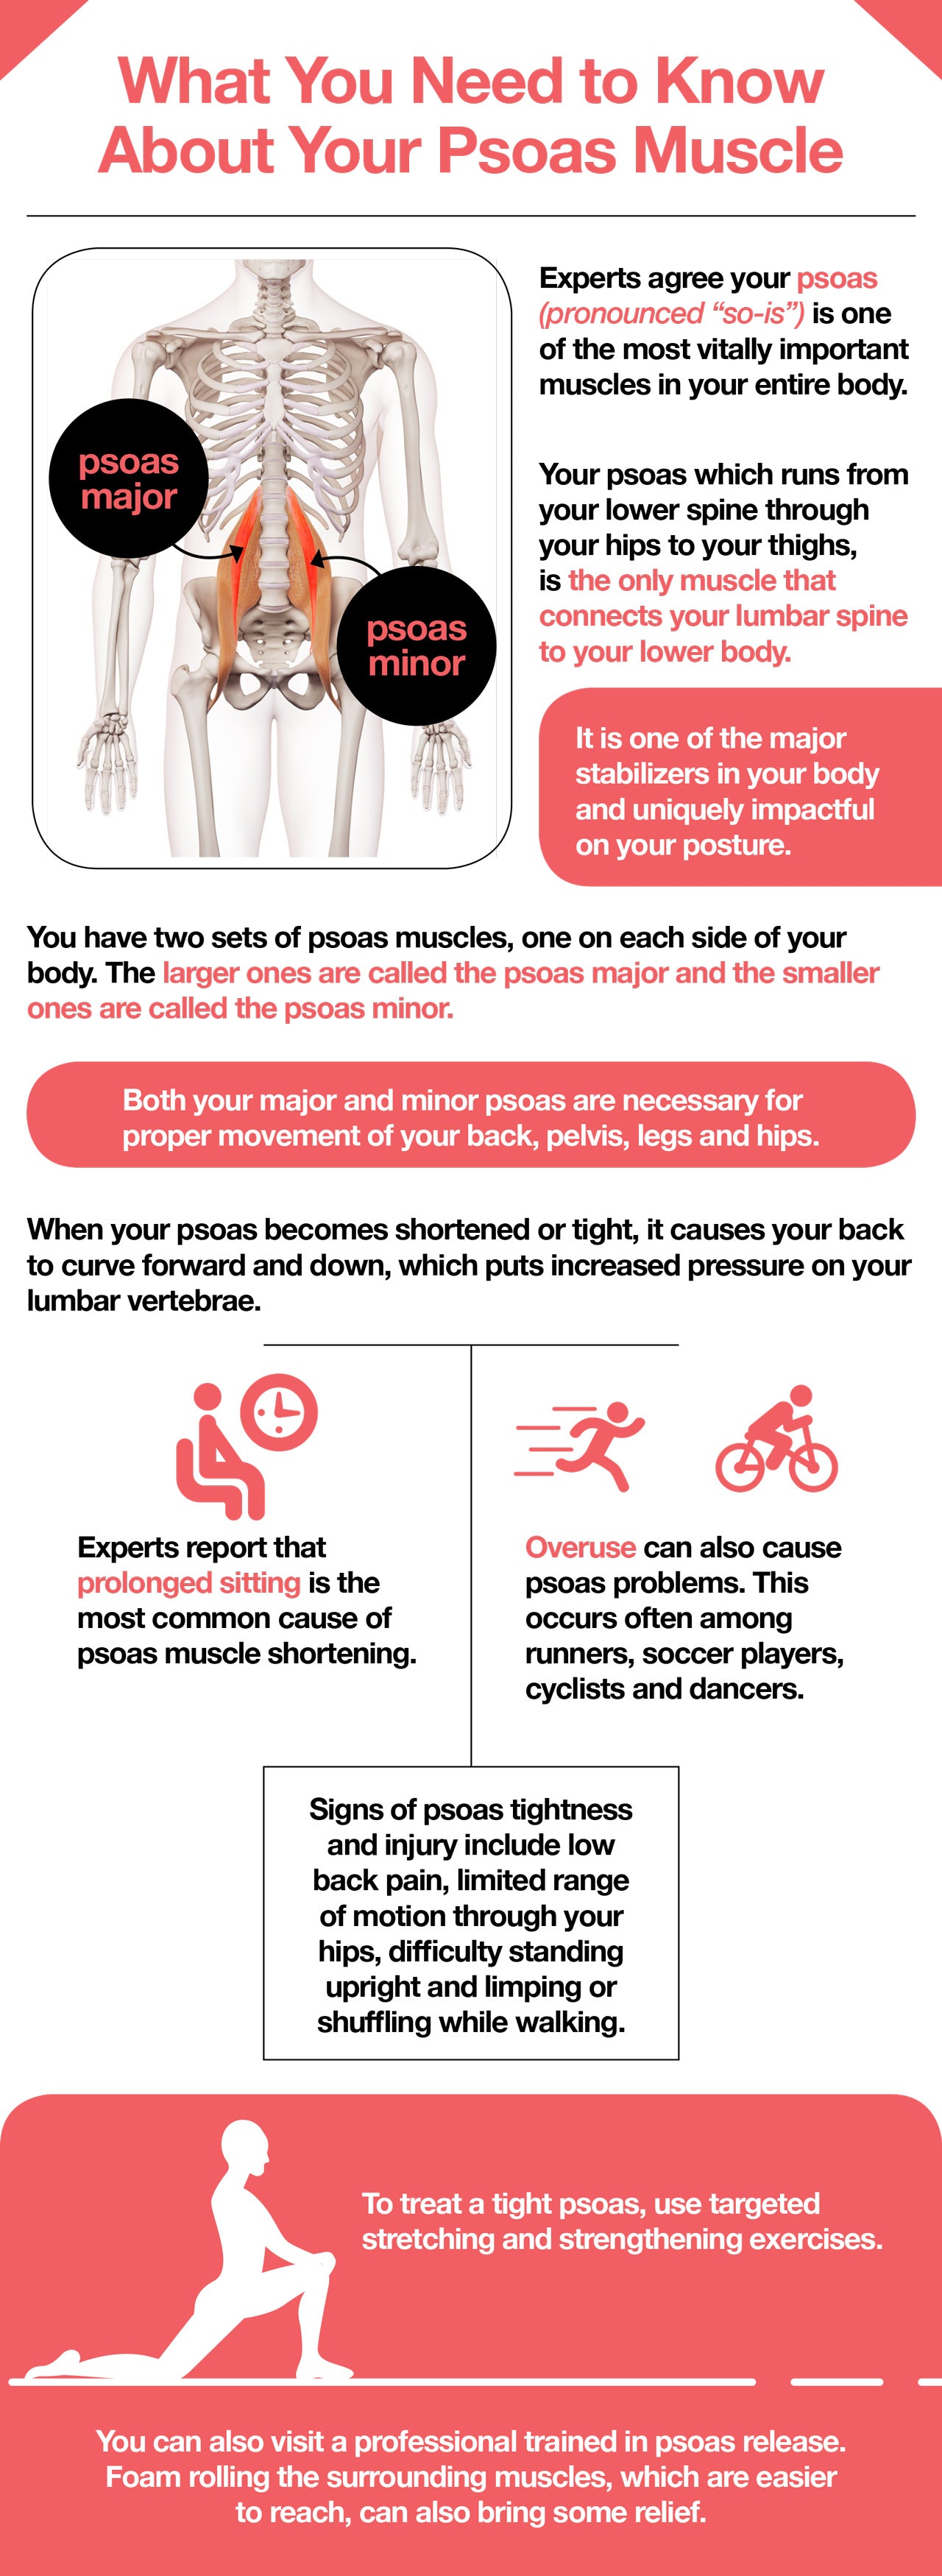
You may not be sure exactly where to find your psoas muscle, or exactly how to pronounce psoas (“so-as”), but experts agree it’s one of the most vitally important muscles in the entire human body.
Here’s a quick introduction: your psoas runs through your hips to link your lower back to your thighs. This deep core muscle is one of the main stabilizers in your body and uniquely impactful on your posture, since it’s the only muscle connecting your lumbar spine to your lower body.
A weak or injured psoas can lead to back pain, neck pain, and other issues. Unfortunately, sitting for long periods of time—as many people’s jobs require them to do—can cause your psoas to stiffen into a rounded position. When you stand, it pulls up short, causing pain and increasing your risk of injury.
Read on to learn more about the psoas muscle, self-diagnosing psoas muscle problems, and the best psoas muscle exercises to relieve pain and improve function.
Why Your Psoas Muscle Matters
Taking proper care of your psoas is an essential part of keeping your body strong and free of pain. You actually have two sets of psoas muscles, one on each side of your body. The larger ones are called the psoas major and the smaller ones are called the psoas minor.
The psoas major are long, thick muscles that attach to your vertebrae deep within your abdominal cavity, stretch down into your pelvis where they connect to your iliacus muscle, then end by linking onto your femur.
The psoas minor originates at the same place, but does not stretch all the way to your femur. Instead, it connects to the bones of your pelvis.
Your major psoas is part of a group of muscles known collectively as your hip flexors because their primary function is to flex your hips. This movement allows you to lift your thighs toward your torso, a crucial element of running, walking uphill, and going up a flight of stairs. Your minor psoas is largely responsible for flexing your lower spine.
Both are necessary for proper movement of your back, pelvis, legs and hips. And along with your core muscles, they keep your spine stable.

Signs You Might Have a Psoas Problem
When your psoas muscles become shortened or tight, they begin to pull your lower back forward, which creates excessive curving called lordosis and puts increased pressure on your lumbar vertebrae. Experts, including the National Academy of Sports Medicine, say prolonged sitting is the most common cause of psoas muscle shortening.
You can also end up with psoas muscle pain and tightness from overuse, a frequent problem among runners, soccer players, cyclists, and dancers. In addition to causing pain and increasing your susceptibility to injury, having tight psoas muscles can impair your athletic performance. Here are several indicators of a psoas problem:
- Aching pain in the front of your hip socket
- Limited range of hip motion
- Bursitis and tendinitis along the path of your major psoas
- Limited ability to move your thigh backward
- Deep pelvic pain
- An ache originating at a low point in your abdominal cavity
- Chronic constipation
If your psoas is not just weakened, but actually injured, you may develop what’s known as psoas syndrome. This often-misdiagnosed condition presents primarily as radiating low back pain, but doctors at the Cleveland Clinic say there are other symptoms to look out for, such as:
- Pain along the border between your low back and your buttocks that can radiate up or down your spine
- Difficulty standing fully upright
- Pain in your buttocks
- Pain radiating down the side of your legs
- Groin and pelvic pain
- Limping or shuffling while walking
6 Highly Effective Psoas Muscle Exercises
Adding just one effective psoas muscle stretch to your routine can make a world of difference. If you spend your days behind a desk, professionals suggest completing a set of psoas muscle exercises daily, if possible. By committing a few minutes to the health of your psoas, you can dynamically improve your well-being too.
It’s important to understand that treating a tight psoas involves more than just stretching it. According to findings published in the Orthopaedic Journal of Sports Medicine, you should also spend time stretching and strengthening surrounding muscles, such as your abdominals, glutes, and hamstrings. The authors note that you should also work on range of motion, pelvic mobilization, and posture. The following six exercises can help you do that.
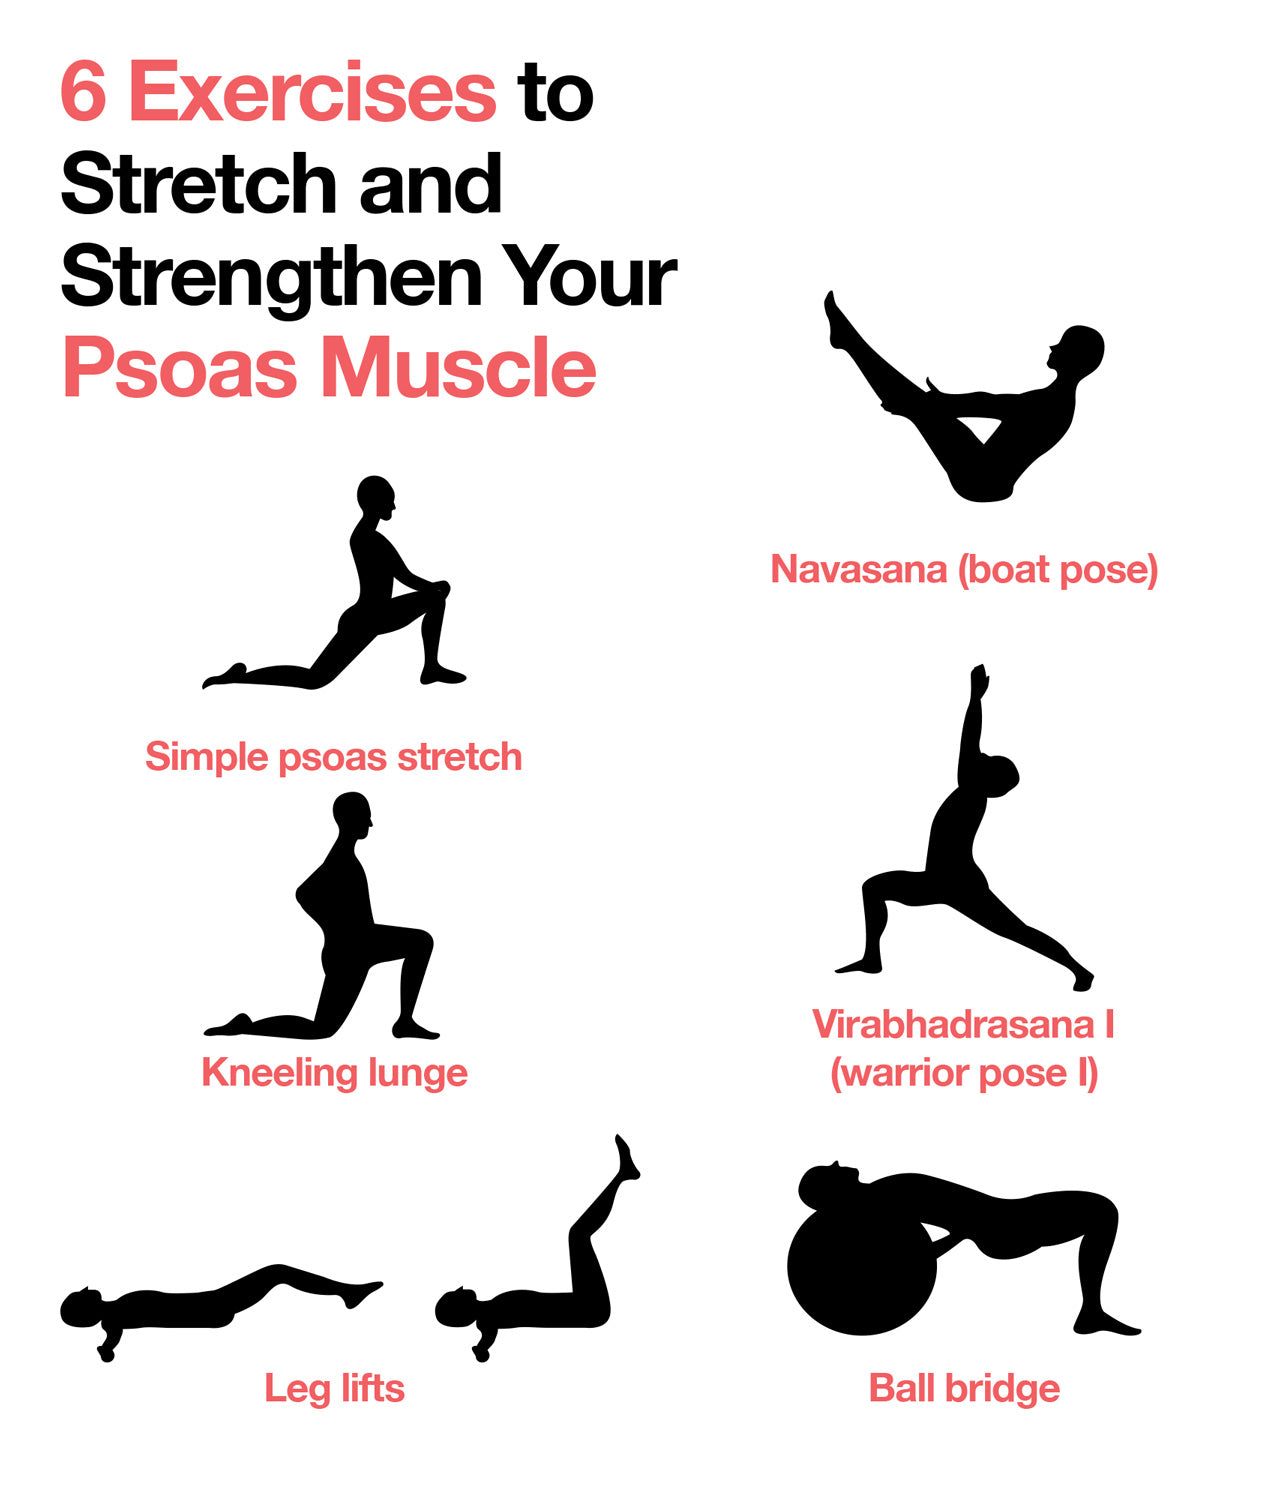
1. Simple Psoas Stretch
Lie on your back, with your lower back pressed firmly into the floor beneath you. Contract your abdominal muscles, then bring your left knee into your chest, making sure to keep your back flat and your right leg extended straight on the floor. If you’re not able to keep your back flat and leg straight, let your knee bend a bit. Hold this position for 30 seconds, then repeat five times. Then bring your right leg into your chest, extend your left, and work your other side.
If you’re having a lot of difficulty keeping your extended leg straight, you may want to try this variation. Sit at the edge of a table, back straight and thighs halfway off the table. Pull your left knee into your chest and lean back until your lower back is pressed into the table. If your back begins to round, loosen your hold on your knee. Hold for 30 to 60 seconds, then repeat with your right leg. Perform three to four repetitions with each leg.
2. Kneeling Lunge
Chances are, you’ve done some version of this popular stretch before. Begin by kneeling with your left leg in front of you at a 90-degree angle. If you’re on a hard floor, you may want to put a pad beneath your right knee. Squeeze the buttock muscles of your right leg and, keeping your tailbone tucked, press your hips forward. Be sure to keep your back straight, paying close attention to any tendency to arch your lower back. You should feel the psoas muscle stretch deep within the front of your right hip. Hold for 20 to 30 seconds, then switch your position so that your right leg is forward and your left is back. Complete three repetitions on each side.
3. Leg Lifts
Lie on your back with your legs extended straight out in front of you. Lift your left leg several inches off the ground and hold for three to five seconds. Focus on drawing your belly button back toward your spine. If your back begins to arch, place your hands beneath your buttocks. That’s one repetition. Complete 10 to 15 repetitions with each leg.
4. Navasana, or Boat Pose
This exercise uses isometric contraction to strengthen your psoas. If you’re new to yoga, start with the most basic version of this pose. Sit with a straight back on the front edge of a chair with your arms extended straight out in front of you, parallel to the floor. Keeping your chest lifted and your back straight, lean toward the back of the chair without actually coming into contact with it. As soon as you begin to lean back, your psoas must work isometrically against gravity to keep your torso in the air.
If you’d like to attempt a more fully realized version of the pose, move to the floor. Again, begin by sitting tall with your knees bent and your feet flat on the ground. Gripping your shins lightly to keep your chest lifted, lean back until your arms are straight. Then release your grip on your shins and let your arms float parallel to the floor. Keep your feet planted and chest lifted throughout.
To move into the full expression of the pose, lean back even further and lift your feet from the floor. Next, straighten your knees. In the full version of this challenging pose, your torso and legs form a V shape. This is quite challenging to achieve and works not only your psoas, but also your abdominals, back muscles, and quadriceps.
5. Virabhadrasana I, or Warrior Pose I
In addition to strengthening your psoas, it’s crucial to spend time stretching and lengthening it. A wonderful way to do that is to practice virabhadrasana I in a doorway. Begin with the right side of your body just behind the door jamb. Step your left leg through the doorway and plant your right foot 2 to 3 feet behind you. Allow your right heel to lift off the floor. Reach your arms overhead and rest your palms on the wall above you. Bring a slight bend into both knees, keeping your hips, belly button, and chest squarely facing the door frame.
Press your hips and chest toward the door jamb while drawing your belly button away from it. This encourages your lumbar spine to move toward the back of your body rather than curving forward and down, thanks to a tight psoas. By lengthening your psoas, you can relieve painful compression in your low back.
To deepen the stretch, straighten your back knee and bend your front knee even more. Hold this pose for a minute or more, remembering to breathe at a slow, steady pace throughout. Then repeat on the opposite side.
6. Ball Bridge
This exercise targets weak glute muscles, which often accompany a tight psoas. It does require a stability ball, which you’ll lie on with your neck and shoulders resting comfortably on the ball and your buttocks suspended in the air. Engage your core and keep your hips level with your shoulders. Your feet should be shoulder-width apart with your toes pointing straight ahead of you. Slowly and with control, lower your buttocks toward the floor. Then push up through your heels to raise your hips back to the level of your shoulders.
What About Psoas Muscle Massage and Release?
Because your psoas muscle is located deep inside your abdominal cavity and surrounded by your organs, it can be difficult to locate without training. If you think you need assisted psoas muscle release, you’ll want to find a chiropractor or physical therapist. They’ll have the expertise needed to apply pressure to the correct points on your pelvic inlet area in order to stimulate psoas muscle release.
While you can’t practice psoas muscle massage on your own, you can encourage the release of your hip muscles that run closer to the surface. This can substantially reduce tension throughout your hips, pelvis, and low back and support the health of your psoas.
One of the best ways to do this is foam rolling, a self-myofascial release (SMR) technique. It can be helpful to work with a professional to learn proper foam rolling technique before trying it on your own. Another option might be to seek out instructional videos online, like this one created by pilates instructor, massage therapist, and fitness educator Nikki Naab-Levy.
Slowly roll over the targeted area, paying attention to which spots feel most tender. You’ll want to keep pressure on the spots you identify for 30 to 90 seconds. As you do, try to relax your muscles and breathe into it. You should feel the discomfort start to lessen.
There are some instances in which foam rolling is not a good choice. If you have medical conditions including congestive heart failure, organ failure, or bleeding disorders, please consult a trusted medical professional before trying foam rolling.
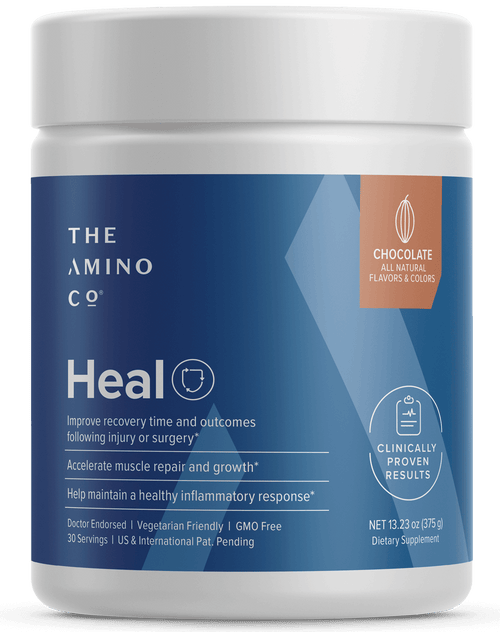
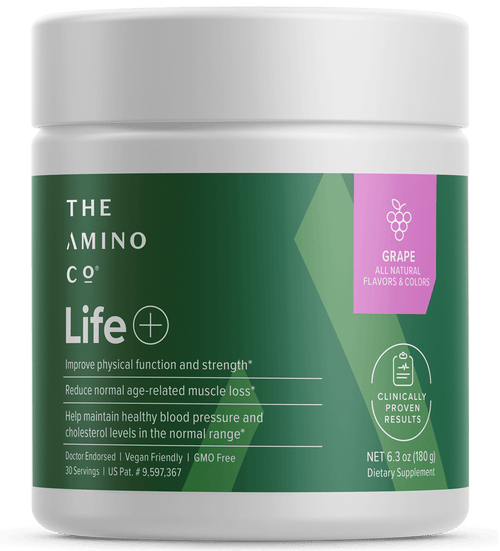
To maximize the health of not only your psoas, but all your muscles, it’s essential to properly fuel yourself. Your body needs amino acids to build and maintain muscle tissue. Amino Co's Life is a daily essential amino acid supplement that improves muscle and heart health. If you are currently struggling with back pain, we recommend Heal, a concentrated formula of amino acids proven to help speed up recovery and improve rehabilitation outcomes.
Up to 25% off Amino
Shop NowComments (0)
Most Craveable Recipes


 833-264-6620


